Best Bulk Watermark Video software to protect your video files

123 Bulk Video Watermark is a professional Windows desktop application designed to add image and text watermarks to multiple videos quickly and efficiently. The software allows you to protect your video content, strengthen your brand identity, and prevent unauthorized reuse by applying consistent watermarks across all your files in a single operation.
With 123 Bulk Video Watermark, you can add logo watermarks using common image formats such as PNG and JPG, adjust their size, opacity, and position, and place them precisely on the video frame. The program also supports text watermarks, giving you full control over font, size, color, opacity, and placement. For stronger protection, text watermarks can be centered and rotated at a 45-degree angle, making them clearly visible while remaining non-intrusive.
The batch processing system allows you to add multiple videos to a queue and process them all at once, saving significant time compared to editing videos individually. You can choose the output format, define a custom output folder, and process several videos in parallel for faster results, while keeping the original audio quality intact.
The interface is clean and intuitive, making the software suitable for both beginners and professional users. All watermark settings are applied consistently to every video in the queue, ensuring uniform results. A free demo version is available to test the main features, while the Pro version removes all limitations.
123 Bulk Video Watermark is an ideal solution for YouTubers, content creators, educators, marketers, and businesses who need a reliable and efficient way to watermark large numbers of videos with minimal effort.
How to Add Watermarks to Multiple Videos with 123 Bulk Video Watermark
First of all download and install the program on your PC

Here is the main interface:
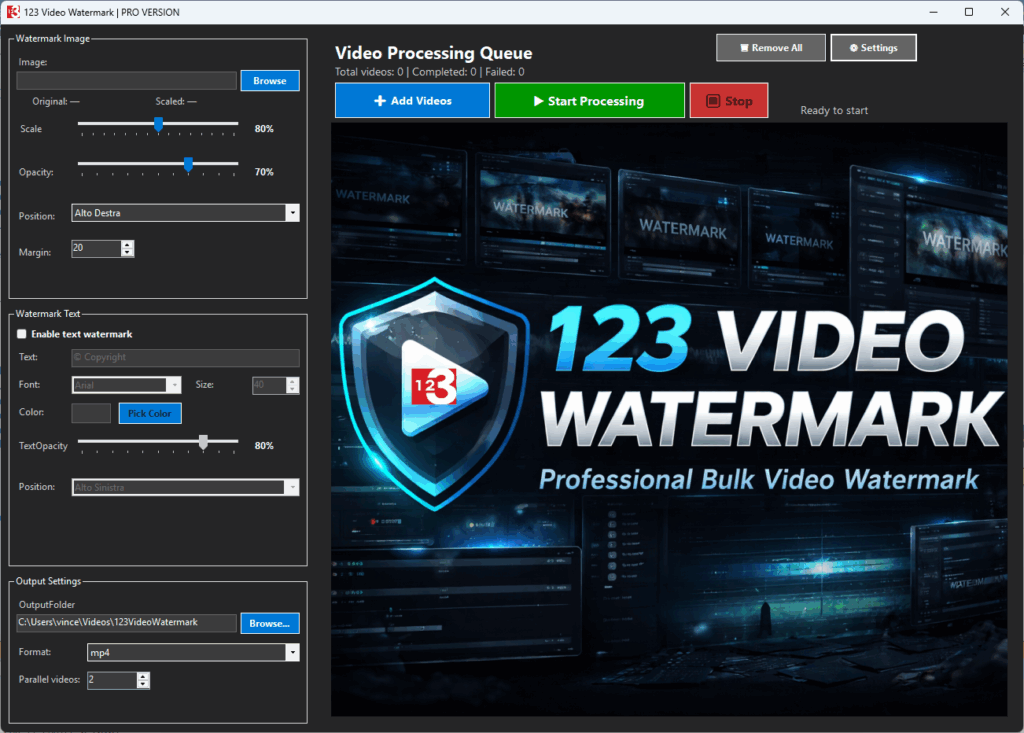
Step 1 – Select an image watermark (logo)
Start by clicking the Browse button in the Watermark Image section and choose the image you want to use as a logo. Once loaded, the program displays the original image size in pixels and automatically updates the scaled size when you change the percentage value. You can adjust the watermark scale, opacity, margin, and position (corners or center) to fit your video layout.
![]()
Step 2 – Add a text watermark (optional)
If you want to add text, enable the Text Watermark option and enter your custom text. You can select the font, font size, color, and opacity. The text watermark can be placed in any corner, centered, or centered and rotated at a 45-degree angle, which is especially useful for copyright protection and content security.

Step 3 – Configure output settings
In the Output Settings section, choose the desired output format and select the folder where the processed videos will be saved. The program automatically keeps the original audio track and creates new files with a modified name, so your original videos are never overwritten.
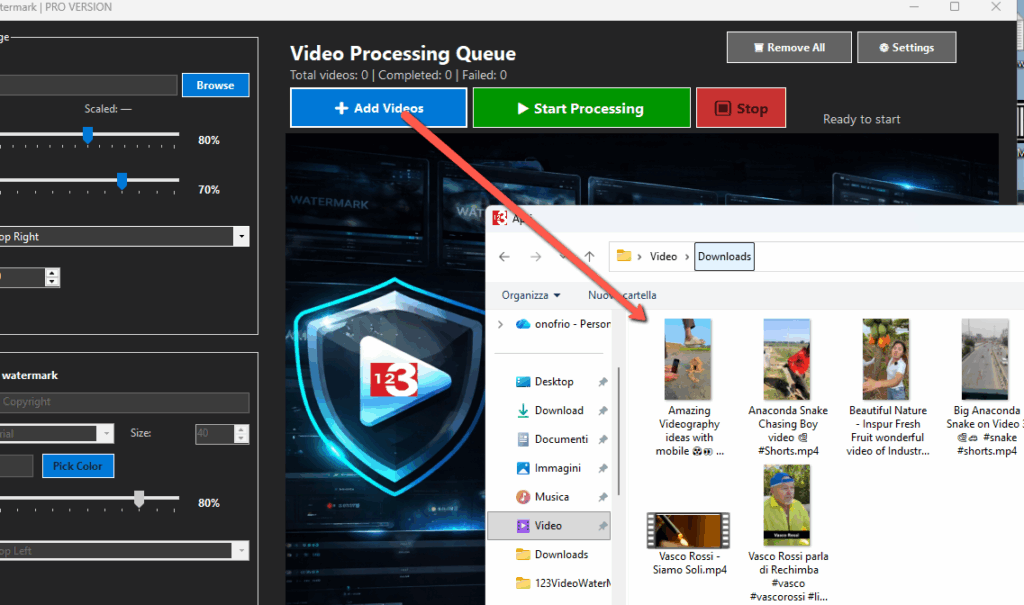
Step 4 – Add videos to the queue
Click Add Videos and select one or more video files from your computer. All selected videos will appear in the queue, where you can see their status and remove individual files if needed. The software supports batch processing, allowing you to work with many videos at once.
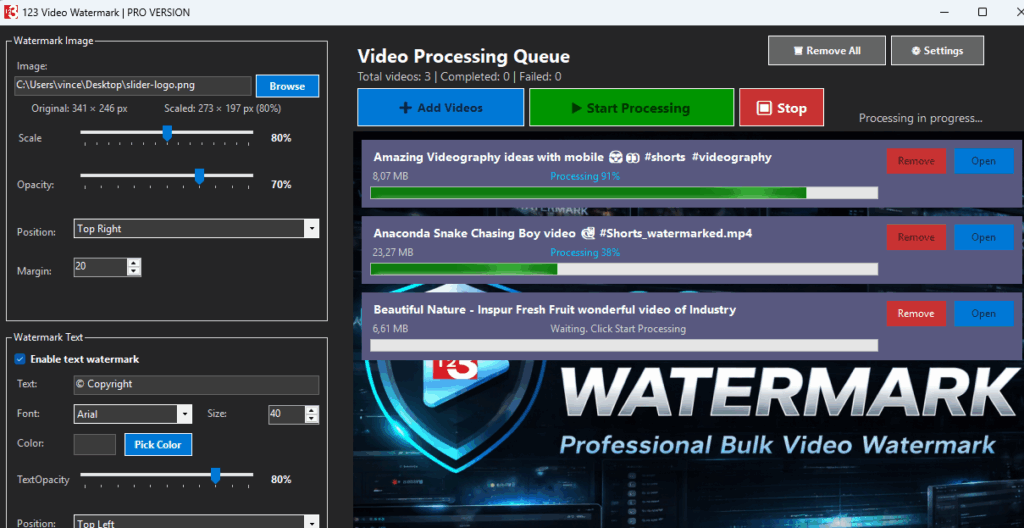
Step 5 – Start the batch processing
Click Start Processing to begin applying the watermark settings to all videos in the list. The software processes multiple videos in parallel for faster results and displays real-time progress for each file. You can stop the process at any time if necessary.
Step 6 – Review the final videos
When the process is complete, the watermarked videos are saved in the selected output folder. Each file contains the applied image and/or text watermark exactly as configured, ensuring consistent branding across all your content.