How To Record Screen on Mac (Big Sur included)
How To Record Screen on Mac
To record the Mac screen, there are some built-in features that can do this task very well, which I will tell you about in the next paragraphs. Furthermore, if you want third-party solutions that also integrate other additional features, I will show you some that can help you in this intent.
Related article: How to record screen on Windows
#1. Mac Screen Recorder app
Screen Recorder is the professional recording software compatible with both Windows and Mac systems. It helps you to record videos from anywhere with truly exceptional video quality. If you want to record the MacOS screen and at the same time also the audio coming through from the computer, we recommend that you download and try this app right away.
Free download Mac Screen Recorder
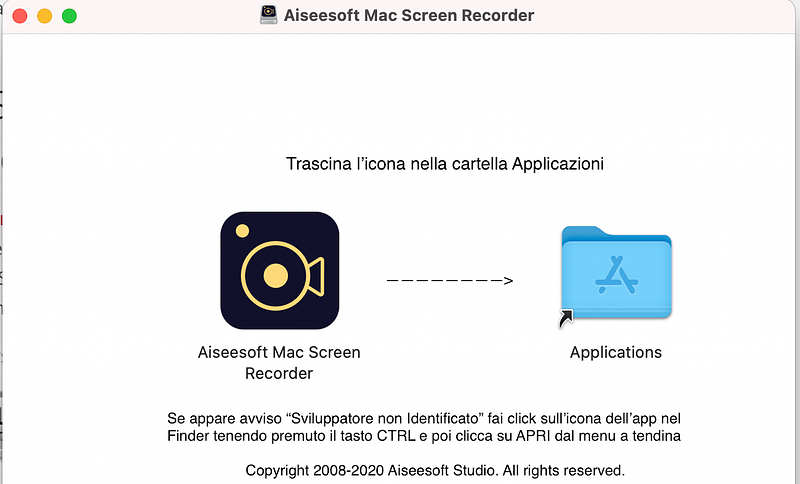
After the download you will have to do the installation by dragging the app to “Applications”
Then, to open the app, access Finder -> Applications and here select the Screen Recorder app by holding down the CONTROL key and then click on OPEN. Then another warning will appear on which you will have to click OPEN again

The app will now open and you will see a window showing the limitations of the demo version.

Click on ORDER LATER to continue using the free demo version. Here is the main interface of Screen Recorder:
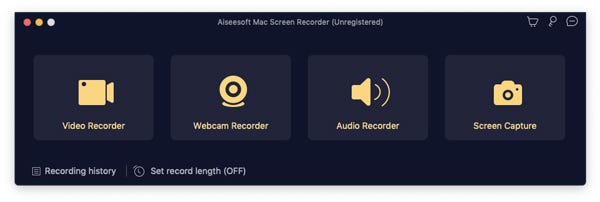
Click “Video Recorder” to start recording your Mac screen. For the program to have full permissions to record and capture video on your Mac, the app will ask you to access “System Preferences”
From the system preferences, access “Privacy and Security” and click on “Screen Registration”. Then press down on the lock icon and select “Mac screen recorder” on the right to authorize the program
Now you can finally use the app to record screen on Mac or take professional screenshots on Mac.
Press VIDEO RECORDER button and select the area (of your Mac screen) you want to record.

Click the microphone-like button and configure the audio settings for the built-in microphone (if you want to record your voice into the microphone as you record the screen). It is also possible to keep your Mac’s system sound on.
In addition to recording videos, with Screen Recorder you can record audio or take screenshots. All you have to do is select the relevant functionality from the main interface.
#2. Screenshot
With the update to version 10.14 of macOS (Mojave), a feature has been introduced, called Snapshot, to capture the Mac screen via screenshot or video. To use this tool simply use the combination of keys cmd + shift + 5 (this displays the software toolbar at the bottom of the screen).
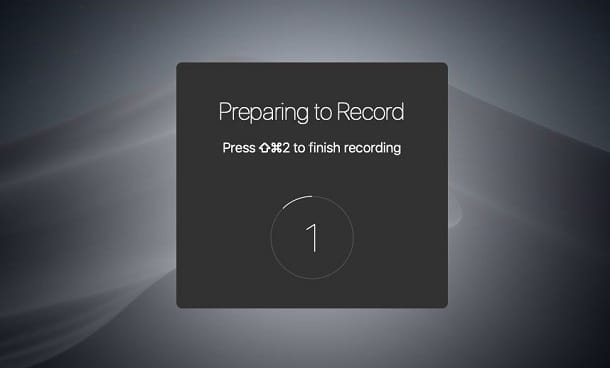
After launching the Screenshot screen, click the center buttons Record Full Screen or Record Selection, if you want to capture video of the entire screen or just a portion of it respectively. Then click the Record button or click anywhere on the screen (the cursor will be changed to a camera icon).
To stop recording, click on the Stop icon located at the top right of the menu bar. A preview screen will be shown to you in the lower right corner of the screen, on which you will have to click to see the result of the acquisition.
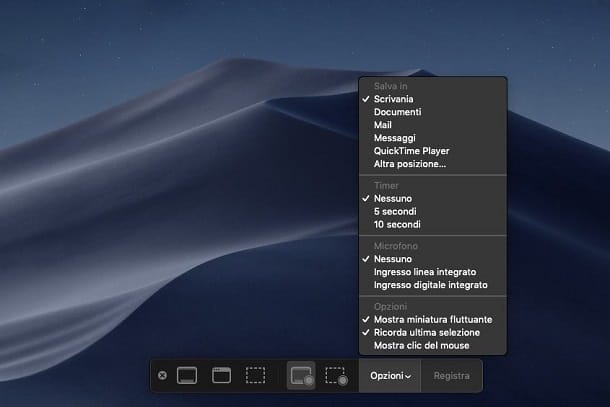
If you want to change the capture parameters, in the Screen Snapshot panel, click on the Options item and decide where to save the videos (Save in), whether to delay the capture (Timer) or whether to record your voice in the background (Microphone) .
#3. QuickTime Player

QuickTime Player is a multimedia content playback application, which you find pre-installed on macOS. Among its features, there is also that of recording the screen of the Mac and any connected iOS device.
If you want to record the Mac screen with QuickTime Player, start it through its icon in the Launchpad and, in the menu bar at the top, tap on the File> New Screen Recording items.
Once this is done, tap on the recording icon (the one with the red dot) and follow the on-screen instructions to start the acquisition: click on the screen to record it in full or drag the mouse to create a selection rectangle, to acquire only a portion of it.
If you also want to include the microphone audio, remember to make the correct configuration in advance, using the box present by clicking on the ⌵ icon, located next to the recording button.
To end the capture, click on the Stop button at the top, in the menu bar, so as to review the preview of the video. Then click on the File> Export as items and select the resolution, among the options that are shown to you. Then choose the path where to save the video, then clicking on Save.
Other Programs to Record the Mac Screen
If your Mac is not updated to the latest version of macOS and you cannot, therefore, use the Snapshot feature, which I told you about in the previous chapter, I recommend other solutions that can certainly be for you.
- Open Broadcaster Software (OBS): is a free and open source software that allows you to record your computer screen. In addition, you can record it live streaming on broadcasting platforms, such as Twitch or YouTube.
- ScreenFlow: among the applications you can install on your Mac for screen recording, there is definitely ScreenFlow, a paid software at a cost of $129. In addition to the Mac’s screen recording functionality, it can also take screenshots of iOS devices and edit videos with professional editing tools. You can download it for free in its evaluation version with no time limit, but the exported videos are watermarked.
- Capto: is another professional software for capturing screenshots and macOS screen videos. It is available for a fee, at a cost of 24,99 euro, but you can download the free evaluation version lasting 15 days. It has several built-in features, such as the advanced editor for video editing and screen recording of iOS devices.